


Think of your home router as the quiet, hard-working traffic cop of your digital life. Every second, it directs millions of packets of data to your phone, your smart TV, and your laptop without asking for thanks. To perform this complex job, the router relies on its firmware—a highly specialized operating system written directly to its physical memory chips.
Updating this firmware is essentially giving that traffic cop a quick brain transplant. Most of the time, the operation is a success, and your router wakes up with better security, fewer bugs, and maybe a few new features. But when something goes wrong during this delicate process, the results can be disastrous. Instead of a high-speed networking machine, you are left with a quiet, unresponsive plastic box that does nothing but blink its LEDs at you mockingly. In the tech community, we call this "bricking" your device.
If you are currently staring at a router that refuses to hand out IP addresses or boot up after an update, do not panic. Before you throw it in the trash or head to the store for a replacement, let's look at why firmware updates fail, how to diagnose the damage, and the exact steps you can take to bring your router back to life.
The Anatomy of a Failed Flash

To understand how to fix a broken router, we first need to understand what happens inside the machine when a firmware update fails. The process of updating firmware is known as "flashing." During a flash, the router erases its old operating system from its non-volatile flash memory (usually NAND or NOR flash) and writes the new system file in its place.
This is a high-stakes operation. If the process is interrupted, the router is left with an incomplete set of instructions. It is like trying to build a house with only the first three pages of the architectural blueprints; the construction crew simply stops working because they do not know what to do next. Here are the most common culprits behind a failed flash:
- Flashing Over Wi-Fi: This is the ultimate cardinal sin of networking. Wi-Fi is highly convenient, but it is prone to packet loss and interference. If you try to send a firmware file over the air and your neighbor turns on their microwave, or your laptop momentarily switches bands, a crucial chunk of data can get lost. The router receives a corrupted file, tries to write it to memory, and crashes.
- Power Interruptions: If your cat trips over the power cord, or a brief storm causes a brownout while the router is erasing or writing to its flash memory, the process stops mid-way. The physical chips are left half-empty, leaving the router with no operating system to boot into.
- Incorrect Hardware Revisions: Router manufacturers often release multiple physical versions of the same model. For example, you might own a router labeled "Version 2.0," but you accidentally downloaded the firmware designed for "Version 1.0." While the external plastic shell looks identical, the internal chipsets are different. Forcing the wrong firmware onto a chip is like trying to run iOS on an Android phone—it simply will not compute.
- Flash Memory Wear: Like solid-state drives, the flash memory inside a router has a limited lifespan. If a router is old and has undergone many writes, or if the memory chips have degraded due to heat, the write process can fail at a physical level.
Is It Dead or Just Sleeping?
Before rolling up your sleeves, you need to determine the severity of the damage. In the tech world, we categorize bricked devices into two categories: soft bricks and hard bricks.
A soft brick means the main operating system of the router is corrupted, but the low-level bootloader is still intact. Think of the bootloader as the router's primitive survival instinct. It is a tiny, highly resilient piece of code that runs before the main operating system loads. If the bootloader is alive, the router can still listen for incoming connections under specific conditions. Soft bricks are highly recoverable.
A hard brick means the bootloader itself has been corrupted or destroyed. When this happens, the hardware has no idea how to turn itself on. The lights might remain completely dark, or they might turn on and stay frozen without any blinking or Ethernet port activity. Recovering from a hard brick usually requires physical tools, soldering irons, and direct access to the chip inside the case.
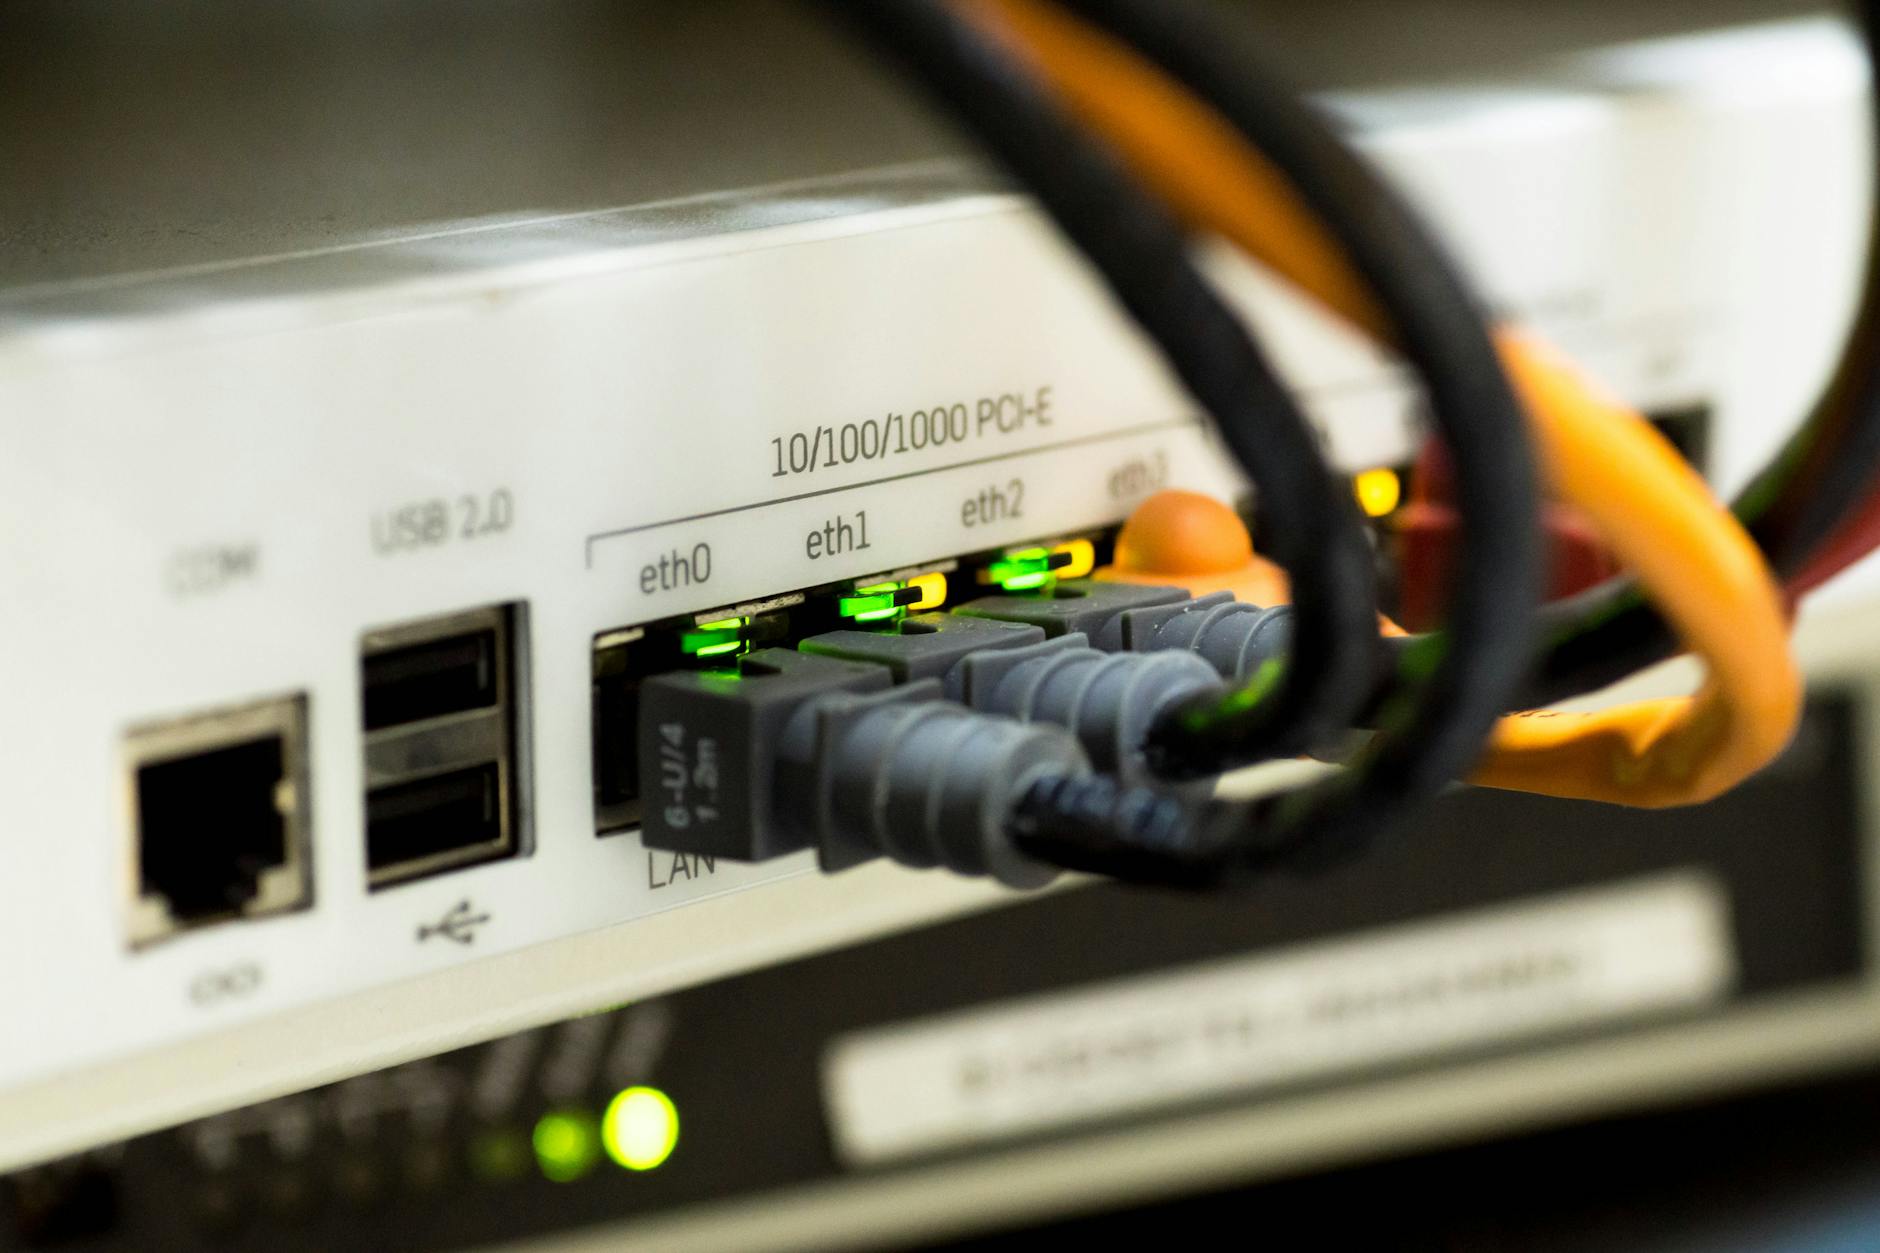
To diagnose your router, look at the behavior of the LED lights. If the power light blinks slowly and continuously, or if only the power light remains lit while all other lights are off, the router is likely stuck in a boot loop. If you plug an Ethernet cable from your computer into one of the router's LAN ports and your computer shows that a physical connection has been established (even if it says "No Internet"), you are dealing with a soft brick. There is still hope.
Bringing Your Router Back from the Grave
If you have confirmed that your router is soft-bricked, you can begin the rescue mission. We will start with the easiest methods and work our way down to the more advanced techniques.
Method 1: The 30-30-30 Hard Reset
This is a classic troubleshooting technique designed to clear the NVRAM (Non-Volatile Random-Access Memory) of the router. NVRAM stores your custom settings, passwords, and configurations. Sometimes, old configuration files from your previous firmware conflict with the new firmware, causing the router to crash during bootup. Clearing this memory can resolve the conflict.
To perform a 30-30-30 reset, follow these steps precisely:
- With the router powered on, press and hold the physical reset button (usually accessed via a paperclip hole) for 30 seconds.
- While still holding the reset button, unplug the power cable from the back of the router and keep holding the button for another 30 seconds.
- While still holding the reset button, plug the power cable back in and hold the button for a final 30 seconds.
In total, you will hold the reset button continuously for 90 seconds. Once completed, let go of the button and allow the router a couple of minutes to reboot. If you are lucky, the router will boot up with its default factory settings.
Method 2: The TFTP Recovery Method
If the hard reset fails, we need to bypass the broken web interface and upload a clean firmware file directly to the bootloader. To do this, we use TFTP (Trivial File Transfer Protocol). Unlike standard FTP, TFTP does not require a complex login process; it simply dumps a file onto a device. This simplicity makes it perfect for low-level recovery.
When a router boots up, its bootloader active-listens for a brief window of time (usually 3 to 5 seconds) to see if anyone is trying to send it a firmware file over TFTP. We are going to exploit this window.
First, prepare your computer:
- Download the correct, official firmware file for your specific router model and hardware revision from the manufacturer's website. Save it directly to your desktop.
- Connect your computer directly to one of the router's LAN ports using an Ethernet cable. Turn off your computer's Wi-Fi to prevent any network confusion.
- You must set a static IP address on your computer. Because the router is not running its DHCP server, it cannot assign an IP address to your computer automatically. Go to your computer's network adapter settings and manually assign the following IP address: 192.168.1.10 with a subnet mask of 255.255.255.0. (If you own a D-Link or Trendnet router, use 192.168.0.10 instead).
Now, prepare your TFTP software. If you are using Windows, you can enable the built-in TFTP client via the "Turn Windows features on or off" menu, or download a free third-party utility like TFTP2. If you are on macOS or Linux, you can use the built-in terminal client.
To execute the transfer using the Windows command prompt, open the command line and navigate to your desktop where the firmware file is located. Type the following command, but do not press Enter yet:
tftp -i 192.168.1.1 PUT firmware_file.bin
(Replace "firmware_file.bin" with the actual name of the file you downloaded. Replace "192.168.1.1" with your router's default gateway IP if it is different, such as 192.168.0.1).
Now, perform the physical timing dance:
- Unplug the power cord from the router.
- Plug the power cord back in. Watch the router's lights closely.
- The moment the power light flashes or the Ethernet port light blinks, hit Enter on your computer to run the command.
If your timing is correct, the command prompt will show that the file is uploading. The router's lights will blink rapidly as it receives the file and begins flashing the memory. Do not touch anything. Let the router sit undisturbed for at least 10 minutes. It will write the firmware and reboot itself automatically.
Method 3: Manufacturer Recovery Modes
Many modern router manufacturers recognize that firmware updates fail, so they build hidden recovery web pages directly into the bootloader. If TFTP feels too intimidating, you can try to access these web interfaces.
For ASUS routers, this is known as "ASUS Rescue Mode." You can download the ASUS Firmware Restoration Utility, put the router into rescue mode by holding the reset button while plugging in the power cord until the power LED flashes slowly, and let the software handle the upload.
For Netgear routers, if the power light is flashing amber, it is already in recovery mode and waiting for a TFTP upload. D-Link routers often have an "Emergency Room" web interface. If you set your computer to a static IP (192.168.0.10) and navigate to 192.168.0.1 in your web browser while holding the reset button during bootup, you may be greeted by a simple web page allowing you to upload a firmware file directly through your browser.
How to Flash Like a Pro Next Time
Once you have successfully brought your router back to life, you will want to make sure you never have to go through this stressful process again. Flashing firmware does not have to be a gamble. If you follow a few basic rules, you can eliminate almost all risks of corruption.
Always use a physical Ethernet cable when performing an update. Disable your computer's Wi-Fi adapter temporarily to ensure the data travels through the copper wire. This guarantees a stable, lossless connection from your computer to the router's storage drive.
Before you upload a downloaded firmware file, verify its integrity. Many manufacturers provide an MD5 or SHA-256 checksum next to the download link. You can use free online tools or your computer's terminal to calculate the checksum of your downloaded file. If the numbers match, you know the file downloaded perfectly without any corruption.
Finally, give your router a clean slate. Perform a factory reset immediately before you start the update, and another factory reset once the update is complete. This clears out old configuration files and variables that might conflict with the new code, ensuring your router runs as smoothly and reliably as possible.
Frequently Asked Questions
Can I use custom firmware like DD-WRT or Tomato to recover a bricked router?
Yes. If your router is soft-bricked and you are using the TFTP recovery method, you can upload a compatible DD-WRT or Tomato firmware file instead of the official factory firmware. However, to minimize variables during troubleshooting, it is usually safer to restore the router using the official manufacturer firmware first, verify that the router is working, and then upgrade to custom firmware later.
What is the difference between a soft brick and a hard brick?
A soft brick is a software-level issue where the main operating system is corrupted, but the low-level bootloader is still functional and capable of receiving commands. A hard brick occurs when the bootloader itself is corrupted, or there is physical hardware damage. Hard-bricked routers will not respond to network requests, ping commands, or TFTP uploads, and require physical hardware intervention to fix.
Is it possible to permanently destroy a router during a firmware update?
While it is rare to physically burn out a chip during an update, you can "permanently" brick a router in the sense that it cannot be recovered using standard software methods. If the bootloader is corrupted (a hard brick), the only way to recover the device is to open the case, solder diagnostic wires to the motherboard's JTAG or serial pins, and flash the memory chip directly using an external hardware programmer. For most users, a hard brick is effectively the end of the line.